Setting Up pfSense, OPNsense, Pi-hole, and Other DIY Open-Source Tools

Open-source tools like pfSense, OPNsense, and Pi-hole offer powerful and flexible solutions for enhancing network security and management. This article provides in-depth, step-by-step guides for setting up these tools to create a secure and efficient home or small business network.

1. Setting Up pfSense
pfSense is a robust open-source firewall and router platform that provides comprehensive network security features. Here’s how to set it up:
Step 1: Download and Install pfSense
- Download the Installer: Go to the pfSense website and download the appropriate installer for your hardware.
- Create a Bootable USB Drive: Use a tool like Rufus to create a bootable USB drive with the pfSense installer.
- Boot from USB: Insert the USB drive into your hardware (e.g., an old PC or dedicated appliance) and boot from it.
- Install pfSense: Follow the on-screen instructions to install pfSense. Select the appropriate options for your network setup.
Step 2: Initial Configuration
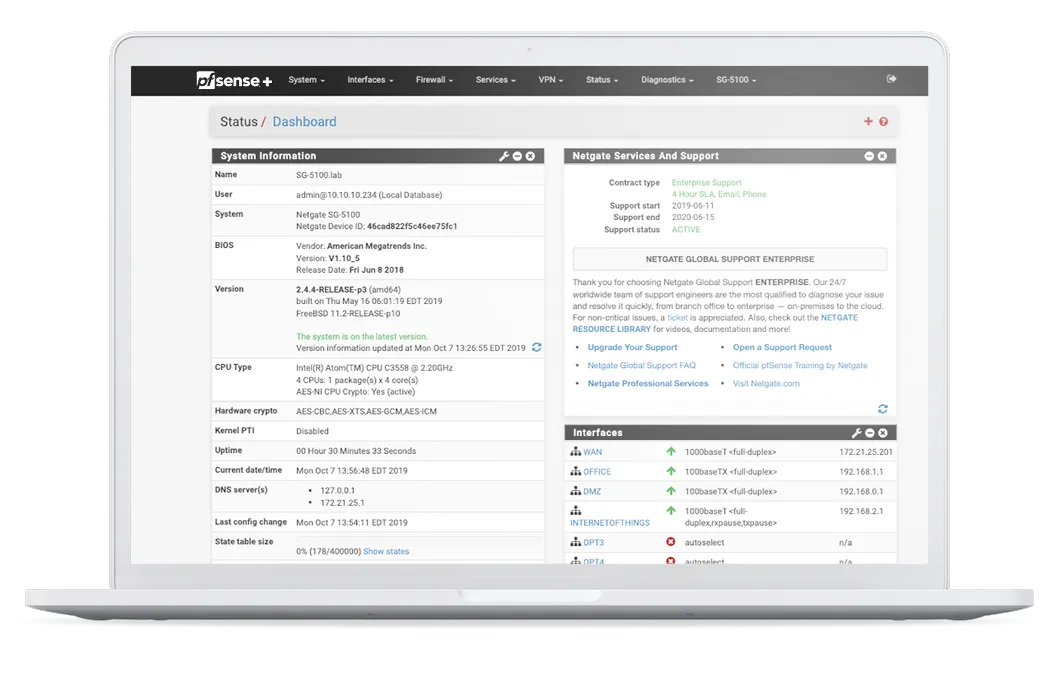
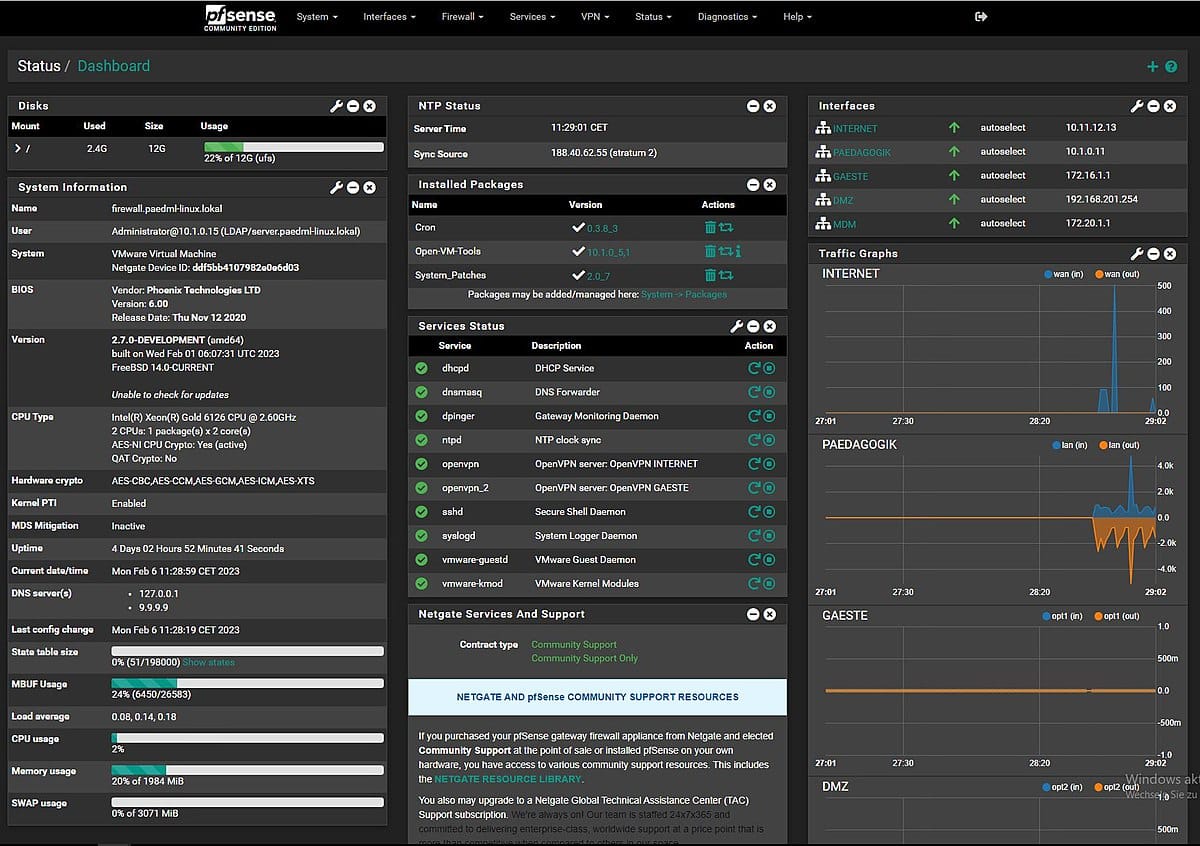
- Access the Web Interface: After installation, connect to the pfSense web interface by entering the default IP address (usually 192.168.1.1) in your browser.
- Login: Use the default credentials (username: admin, password: pfsense) to log in.
- Run the Setup Wizard: Follow the setup wizard to configure basic settings, including hostname, domain, DNS servers, and time zone.
Step 3: Configure Network Interfaces
- Assign Interfaces: Assign WAN and LAN interfaces as per your network setup.
- Configure IP Addresses: Set static IP addresses for the WAN and LAN interfaces.
Step 4: Firewall Rules and Security
- Create Firewall Rules: Define firewall rules to control traffic between your network interfaces.
- Enable Intrusion Detection: Set up Snort or Suricata for intrusion detection and prevention.
Step 5: Additional Features
- Set Up VPN: Configure OpenVPN or IPsec for secure remote access.
- Enable Logging and Monitoring: Use pfSense’s built-in tools for logging and monitoring network activity.


2. Setting Up OPNsense
OPNsense is an open-source firewall and routing platform based on FreeBSD. It offers a modern interface and a rich feature set. Here’s how to set it up:
Step 1: Download and Install OPNsense
- Download the Installer: Visit the OPNsense website and download the installer.
- Create a Bootable USB Drive: Use a tool like Etcher to create a bootable USB drive with the OPNsense installer.
- Boot from USB: Insert the USB drive into your hardware and boot from it.
- Install OPNsense: Follow the installation prompts to install OPNsense on your hardware.
Step 2: Initial Configuration
- Access the Web Interface: Connect to the OPNsense web interface by entering the default IP address (usually 192.168.1.1) in your browser.
- Login: Use the default credentials (username: root, password: opnsense) to log in.
- Run the Setup Wizard: Complete the setup wizard to configure basic settings.
Step 3: Configure Network Interfaces
- Assign Interfaces: Assign and configure WAN and LAN interfaces.
- Set IP Addresses: Assign static IP addresses to the interfaces.
Step 4: Firewall Rules and Security
- Create Firewall Rules: Define rules to control traffic between interfaces.
- Enable IDS/IPS: Configure Suricata for intrusion detection and prevention.
Step 5: Additional Features
- Set Up VPN: Configure OpenVPN or IPsec for secure remote access.
- Enable Reporting and Monitoring: Use OPNsense’s built-in tools for system health and network activity monitoring.
3. Setting Up Pi-hole
Pi-hole is a network-wide ad blocker that acts as a DNS sinkhole. It blocks ads and trackers at the DNS level, providing privacy and performance benefits.
Step 1: Install Pi-hole
- Prepare Your Hardware: Use a Raspberry Pi or any Linux-based system.
Install Pi-hole: Run the automated installer:
curl -sSL https://install.pi-hole.net | bash
Update System Packages: Run the following commands to update your system:
sudo apt update
sudo apt upgrade
Step 2: Configure Pi-hole
- Select Upstream DNS Providers: Choose your preferred DNS providers (e.g., Google, OpenDNS).
- Set Static IP Address: Assign a static IP address to your Pi-hole device.
- Choose Block Lists: Select default or custom block lists to block ads and trackers.
Step 3: Network Configuration
- Set Pi-hole as DNS Server: Configure your router to use the Pi-hole device as the primary DNS server.
- Enable DHCP (Optional): If desired, enable Pi-hole’s DHCP server to manage IP addresses on your network.
Step 4: Access the Web Interface
- Login: Access the Pi-hole web interface by entering the IP address of your Pi-hole device in your browser.
- Monitor Activity: Use the dashboard to monitor DNS queries and blocked requests.
4. Additional Open-Source Tools
WireGuard VPN
- Install WireGuard: Install WireGuard on your server using the package manager (e.g.,
apt install wireguard). - Generate Keys: Generate private and public keys for the server and clients.
- Configure Server: Create a configuration file for the WireGuard server.
- Configure Clients: Set up client devices with the corresponding configuration files.
OpenWRT
- Install OpenWRT: Flash OpenWRT firmware on a compatible router.
- Initial Setup: Access the web interface and configure basic settings.
- Advanced Configuration: Customize firewall rules, VPN settings, and network configurations.
Setting up pfSense, OPNsense, Pi-hole, and other open-source tools can significantly enhance your network's security and performance. By following these step-by-step guides, you can create a robust and secure network environment tailored to your needs. These DIY projects not only improve your security but also provide valuable hands-on experience with network management and security practices.
Citations:
[1] https://www.netgate.com/pfsense-features
[2] https://www.pfsense.org
[3] https://www.reddit.com/r/PFSENSE/comments/94sz79/what_is_pfsense_and_do_i_need_it/
[4] https://opnsense.org/about/features/
[5] https://docs.opnsense.org/intro.html
[6] https://docs.pi-hole.net
[7] https://www.reddit.com/r/pihole/comments/7qbg57/what_are_the_benefits_of_using_pihole_instead_of/
[8] https://isecjobs.com/insights/pfsense-explained/
Recommended Hardware Specifications for Running pfSense and OPNsense
Choosing the right hardware for running pfSense or OPNsense is crucial to ensure optimal performance and reliability. This article outlines the recommended hardware specifications for these open-source firewall and router platforms, based on various use cases and requirements.
pfSense Hardware Recommendations
Minimum Requirements
- CPU: 64-bit amd64 (x86-64) compatible CPU
- RAM: 1 GB or more
- Storage: 8 GB or larger disk drive (SSD, HDD, etc.)
- Network Interfaces: One or more compatible network interface cards (NICs)
- Installation Media: Bootable USB drive or high-capacity optical drive (DVD or BD) for initial installation
These minimum requirements are suitable for basic firewall and routing tasks without any additional packages or heavy traffic loads[1][7].
Recommended Specifications for Home and Small Office
- CPU: Intel Celeron J4125 or higher (e.g., Intel Core i3)
- RAM: 4 GB or more
- Storage: 16 GB SSD or larger
- Network Interfaces: At least two Intel NICs for WAN and LAN connections
- Additional Features: Support for AES-NI for VPN acceleration
This setup is ideal for home users or small offices with moderate traffic, basic firewall rules, and light VPN usage[2][3].
High-Performance Requirements
- CPU: Intel Core i5 or higher (e.g., Intel Xeon)
- RAM: 8 GB or more
- Storage: 40 GB SSD or larger
- Network Interfaces: Multiple Intel NICs, including support for 10 Gbps interfaces if needed
- Additional Features: Hardware support for VPN, IDS/IPS (e.g., Suricata), and other resource-intensive packages
This configuration is suitable for environments with high traffic, multiple VLANs, and advanced security features like IDS/IPS[2][3][7].
OPNsense Hardware Recommendations
Minimum Requirements
- CPU: 1 GHz dual-core CPU
- RAM: 2 GB
- Storage: SD or CF card with a minimum of 4 GB (use nano images for installation)
- Network Interfaces: At least two NICs
These minimum requirements are suitable for basic firewall and routing tasks without additional packages or heavy traffic loads[4].
Reasonable Specifications for General Use
- CPU: 1 GHz dual-core CPU
- RAM: 4 GB
- Storage: 40 GB SSD
- Network Interfaces: At least two Intel NICs
This setup is ideal for general use, supporting all standard features of OPNsense, but may not handle high loads or multiple users efficiently[4][6].
Recommended Specifications for Full Functionality
- CPU: 1.5 GHz multi-core CPU
- RAM: 8 GB
- Storage: 120 GB SSD
- Network Interfaces: Multiple Intel NICs, including support for 10 Gbps interfaces if needed
This configuration is suitable for environments with substantial traffic, multiple users, and advanced security features like IDS/IPS and caching proxies[4][6].
Additional Considerations
Network Interface Cards (NICs)
- Intel NICs: Intel-based NICs are highly recommended for both pfSense and OPNsense due to their reliability and performance.
- Number of Ports: Ensure you have enough NICs to support your WAN, LAN, and any additional VLANs or network segments.
Virtualization
- Virtual Machines: Both pfSense and OPNsense can be run on virtual machines using hypervisors like ESXi, Proxmox, or XCP-ng. Ensure adequate resources are allocated to the VM to match the recommended specifications.
- Performance Impact: Virtualization can add complexity and may impact performance, especially for resource-intensive tasks like IDS/IPS.
Power Consumption and Noise
- Low Power and Quiet Operation: Consider using fanless mini-PCs or appliances with low power consumption and quiet operation for home or small office environments.
Conclusion
Selecting the appropriate hardware for running pfSense or OPNsense depends on your specific use case, traffic load, and desired features. By following the recommended specifications outlined above, you can ensure a reliable and efficient network security solution tailored to your needs. Whether you are setting up a basic home firewall or a high-performance enterprise router, choosing the right hardware is essential for optimal performance and security.
For more detailed information and tips, consider visiting resources like the official pfSense and OPNsense documentation, as well as community forums and user reviews.
Citations:
[1] https://docs.netgate.com/pfsense/en/latest/hardware/minimum-requirements.html
[2] https://www.reddit.com/r/PFSENSE/comments/10lx7vb/hardware_recommendations_for_pfsense/
[3] https://www.youtube.com/watch?v=U2K374oj584
[4] https://docs.opnsense.org/manual/hardware.html
[5] https://forum.opnsense.org/index.php?topic=36048.0
[6] https://homenetworkguy.com/review/opnsense-hardware-recommendations/
[7] https://forum.netgate.com/topic/179035/minimum-hardware-requirements-for-pfsense
[8] https://community.spiceworks.com/t/recommendation-for-pfsense-hardware/578056
[9] https://www.reddit.com/r/opnsense/comments/1afjvoo/hardware_recommendation_for_opnsense/
[10] https://docs.opnsense.org/vendor/sunnyvalley/zenarmor_hardwarerequirements.html


